-remove-bg-io.webp)
.webp)
On this page
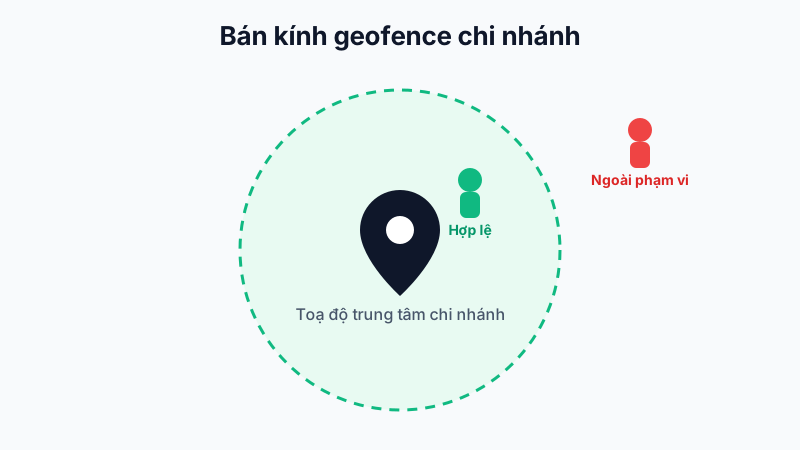
Step 1: Add the Branch
Go to Organization → Branches → Add New and enter the branch's name and full address.
Step 2: Get GPS Coordinates
Use the built-in map location picker — search for the address or drag the pin to the branch's actual location so the system automatically captures the precise longitude/latitude.
Step 3: Set the Radius
Enter a radius value (in meters) — this is the maximum range within which employees are allowed to check in, measured from the center coordinate. A reasonable radius depends on the actual site size:
- Small offices, shops: 50–100m.
- Factories, warehouses, large premises: 200–500m.
Verifying the Setup
After saving, have an employee try checking in at the new branch to confirm the radius is configured correctly before it goes into official operation.
Note: A radius that's too small may prevent employees standing inside a building (where GPS drifts due to weak signal) from checking in — leave a safety margin.